Brand new planters, especially larger options, can be really expensive. Learning to upcycle pots you already own or transforming a planter pot you find at the thrift store can be a really affordable way to add beautiful decor and character to any outdoor space! Read on to see how I was inspired by high end planters to create woven planter pot decor for less!

Looking for more outdoor inspiration? START HERE!
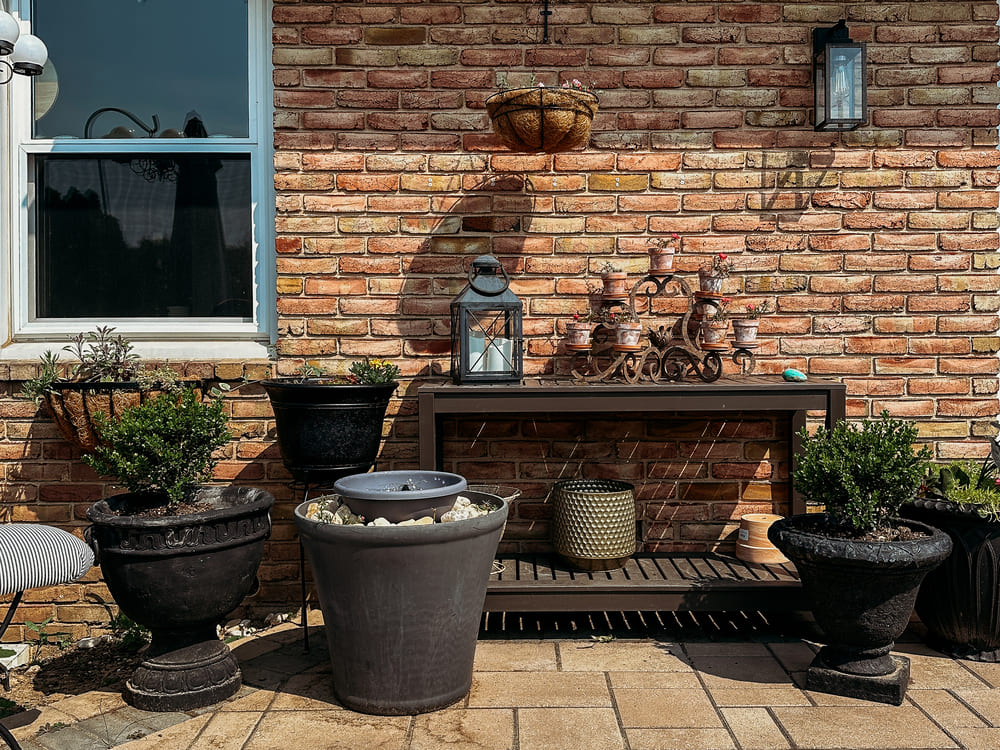
We’re cleaning off our patio to get ready for a season of entertaining and I wanted to give our patio décor a refresh as well! Our outdoor planters were all different colors and most of them were showing the wear and tear of being exposed to the elements for years. I have been seeing some beautiful trends this season for outdoor planters so my goal was to recreate a few of those using my existing planters and a very small budget. You can be the final judge, but I think I succeeded!

This planter was inspired by a high end style from one of my favorite stores – Anthropologie. I LOVE the look of the brightly colored hyacinth woven around this Anthropologie planter! I wanted to recreate this with a more durable material – paracord – to ensure it will hold up for years to come.

Paracord is a type of rope made from synthetic fibers. It is meant to be used for outdoor activities and is made to last. I chose a thin version of this cord for weaving, and I love that this particular brand offers 3-packs of different color varieties. This saved me some money versus choosing 3 separate spools! I used about half of my paracord for this large planter, so depending upon the size of your pot, you can easily make more than one planter!

This tutorial has a lot of steps, but do not be intimidated! I’m going to walk you through everything and I promise you can do it!
As an affiliate, I earn from qualifying purchases. That means, that when you click on a link in this post, I may make a small commission. Thank you for supporting me and the quality items I promote!
Materials
- plastic planter in your choice of size. Mine is a 15 inch pot I’ve had for years. If you don’t already have the plastic pot look for one at a thrift store or dollar store!
- spray paint in your choice of color. I used this
- paracord – here are a few other tri-pack color combinations, or you can pick and choose your own spools.
- cordless drill fitted with a 7/32 drill bit
- soft measuring tape or string
- marker/pencil
- speed square – not essential, but super helpful!
- scissors
- lighter
- zip tie
How to Make DIY Woven Planter Pot Decor
1. Before painting your pot, you want to make the holes for weaving.

2. Using a fabric measuring tape or string, measure the circumference of your pot. I chose to make my holes 2 inches apart, so I marked every 2 inches around my pot with a sharpie. Because my pot is 47 inches in circumference, 3 of my holes are only 1 inch apart. I used this to my advantage for how I finished the weaving process, but if all of your holes are exactly the same distance apart that’s great too!

3. Once your dots are marked, you want to make sure that they are all the same distance from the top of your pot. You can do this by measuring for each hole OR, my brilliant husband used a speed square to draw a ring around the entire pot ensuring every hole would be at the same level. See the picture for how to hold your square. He held the square and pencil in place and I turned the pot, so we drew one level line around the entire pot. My holes are 1.5 inches from the top of the pot.

4. Using a cordless drill and drill bit, drill through the pot at each hole. You want your drill bit to be slightly larger than the thickness of your cord. For the cord I used, I used a 7/32 drill bit.

5. Once all your holes are drilled, paint your pot making sure to apply thin even layers to prevent running. I always start out with my pot face down to ensure I hit every angle and then the top edge of my pot never touches the work surface once I paint it during the second coat!
6. Allow your planter to dry according to the instructions on the paint can.
7. Now it’s time for the fun part! Thread your first cord color (mine is black) FROM THE INSIDE through a hole. NOTE – if you have a few unevenly distanced holes like mine, start with those holes. I’ll show you why in a bit. Pull your cord the whole way through the hole except for the last 6 inches.

8. Continue threading your cord through the holes by always threading from the inside out. The cord will layer over the top edge of your pot each time.

9. When you have woven the cord through every hole except for the last one, you will insert the cord from the OUTSIDE to the inside so that both ends are inside the pot.

10. Trim off any extra cord and tie a tight knot inside the pot. (this will be hidden once filled with dirt)
11. Take another color, (orange) and begin weaving over and under the first color (black). You want 6 inches of excess at the beginning and end of each woven cord.

12. Alternate with your 3rd cord color (rose) and this time, change the direction of weaving. If the first cord went under, this color will go over. This is also known as a basic basket weave. I wove 3 orange and 3 rose cords through.

13. Gather up all of your loose ends and tightly zip tie them all together so that they resemble a pony tail. Trim all of the cords to the same desired length.
14. Using a lighter, burn each end so that the cords melt to prevent fraying. Also melt the edges of the inside knot from your first color!

My woven design is a little different than the Anthro pot, but it requires drilling less holes. And I love it just as much! I also love the little tassel detail on my pot! For this project, I used a pot I already owned, so my total cost was $16 for the can of spray paint and half of the package of paracord, which I can use for a second planter. The inspiration pot costs $44 so I spent less than half on my DIY!

I hope you find some inspiration here! As always, if you have any questions or ideas for a new DIY leave a comment and let me know! And don’t forget to subscribe to our weekly newsletter at the bottom of the page so you never miss an opportunity to be inspired!
xoxo, L


