Still no painting supplies over here, so we’re moving onto the exciting things I CAN show you, like all of the budget friendly art I collected for this makeover!

| a big cloud | antique flower | bouquet of blossoms | zinnias | bird |
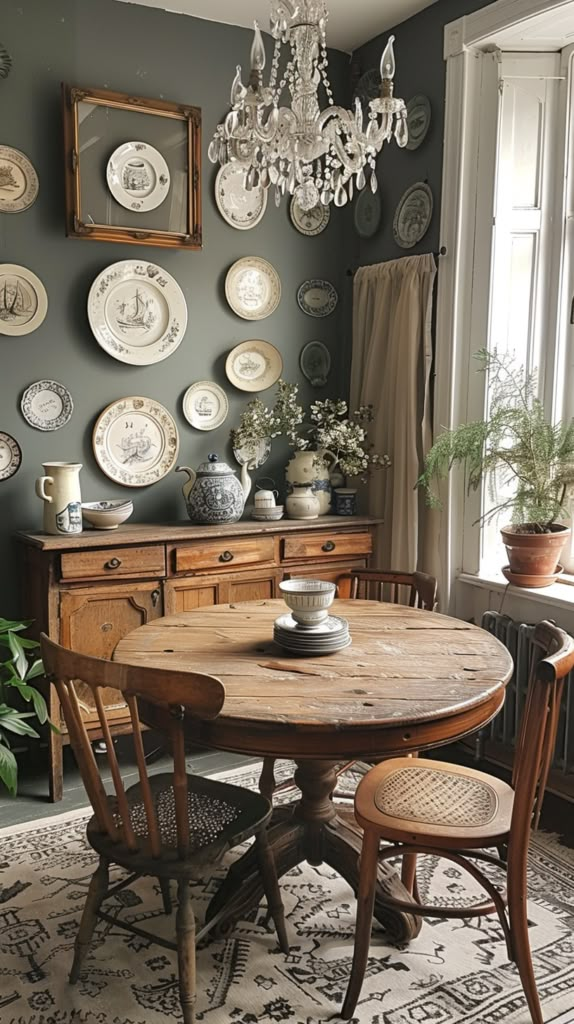
My favorite way to bring a bold statement to a room is with a gallery wall, but I know it can be a little intimidating for some to figure out how to choose what art looks great together. The short answer is, if it brings you joy, hang it! There really isn’t a wrong way to curate a gallery wall, but here are some simple tips to make it feel more styled.
Easy Tips for a perfect gallery wall
1. Choose different styles

Mix vintage botanical prints with modern black and white photography. Incorporate family photos and an oil painting you find at a thrift store. The more varied the styles, the more it feels like you’ve been collecting the perfect pieces for your home for years.
2. fill the space

If you have a large wall, don’t choose 4 – 8X10 frames and call it a day. The space will feel skimpy and unfinished. If you’ve got a large wall, go bold with a few bigger pieces along with those more traditional sizes. Filling the space will actually make the wall look larger and taller! And beyond choosing varying sizes, make sure to select art with different orientations.
3. Choose an overarching color story

|moody floral | venice | tapestry | green botanical | vintage butterfly |
This is a personal choice. I like to put art together with a similar color story. Or at least focus on what art will work well with the color of your room. For this room, I really wanted to choose art with colors that pop against the dark moody blue walls. I selected prints with hints of mustard, gold, and pink tones for a cohesive look.

art linked above
4. Include Non-Art items

| blue sky | gothic floral | runner rugs | gold frame | black frames | similar gold wreath |
Mirrors, wall sculptures, and other items that can hang on the wall add more interest!
How to Curate a Gallery Wall on a budget
Art can be expensive so I have lots of ideas for how to fill those walls without emptying your wallet.
1. Free Downloads

I have mentioned this tip in other blog posts. Doing a simple Pinterest search for free downloadable art will offer a treasure trove of art options that won’t cost you a dime. You can print your art at home on good quality art paper or have them inexpensively printed somewhere like Costco or Staples.
2. Etsy

prints linked above
I am a lover of all things vintage, and Etsy has a wide array of sellers that offer incredible inexpensive vintage art prints you can download to your computer that will make your home look like you filled it with high end art! I only spent $14 on the digital art for the basement makeover! Can you even?!
Beyond vintage prints, Etsy is a great place to look for any form of digital art on a budget. Here’s a list of my favorite Etsy sellers
- north prints
- ginger and co print shop
- lighthouse vintage art
- chaos and wonder
- olive and oak prints
- miao miao design
- art X house
- prints 2 paper
- vibrant vintage prints
3. Family Photos

I don’t always see big home bloggers fill their walls with family photos, but I absolutely love to display the people I love most in my home! Create an entire wall of different family photos or mix them in with other art. Want a bold way to display your family shots whether they were taken by a professional photographer or not? Have them all printed in black and white for a cohesive look!
4. Thrift Stores
You can find incredibly beautiful art prints in thrift stores, but it might take some patience. Don’t be discouraged after only looking in one store. Good things come to those who thrift often!
5. DIY
There are so many easy DIY tutorials for wall art out there! I have been wanting to make my own textured art with hot glue for a while, and the basement makeover was the perfect opportunity to finally try it! I started with a large frame I found at a yard sale for $3 and applied hot glue straight to the non-glare glass in a floral design. After making sure I had removed most of the “spider web” glue from my art, I gave the entire piece a few coats of flat white spray paint. You can watch me make it here!

With all of my art ready to hang I’m even more impatient to get this room painted! Here’s hoping next week I can share some major reveals for this moody room!
xoxo, L
If you missed anything, here’s the progress we’ve made so far for the One Room Challenge!


