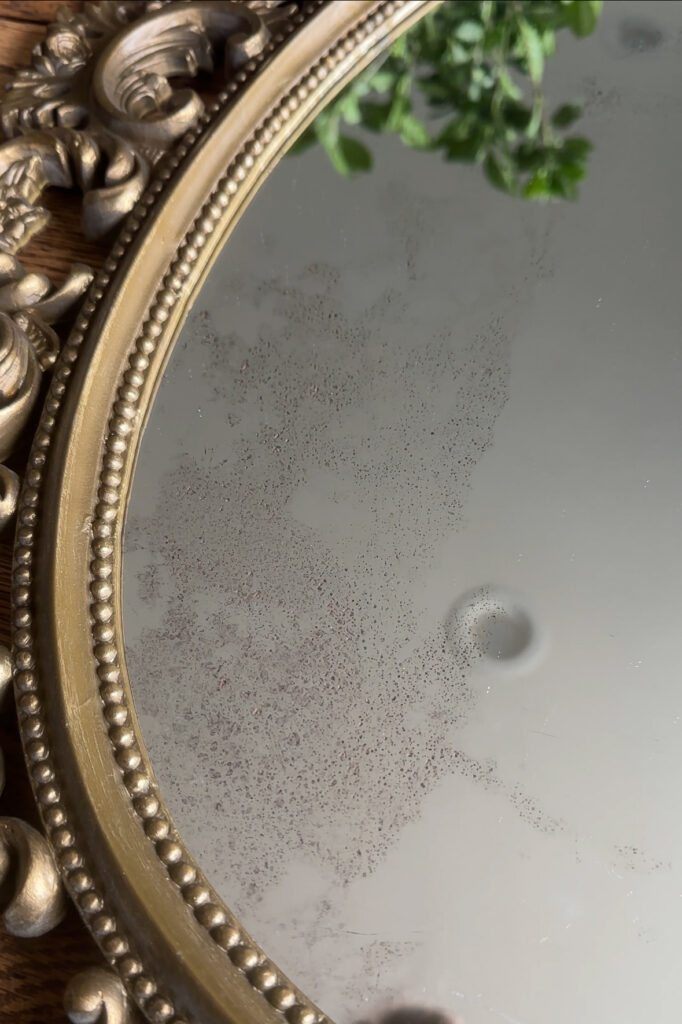
There’s something magical about the character and drama that an aged mirror brings to a space. As time passes, a mirror’s reflective finish wears away, creating a cloudy, mercury glass effect that’s full of charm. If you don’t own an antique mirror, you can find them at flea markets and antique stores, but they can be pricey! This easy tutorial shows you how to transform any mirror into a beautifully aged “antique” at a fraction of the cost.

This post may contain affiliate links which might earn me a small commission at no cost to you. THANK YOU for supporting me and the quality items I promote!
Where to Source a Mirror for This Project
This antiqued mirror tutorial works well with:
- Thrifted and secondhand mirrors
- New, unframed mirrors cut at the hardware store
- Any mirror you already own
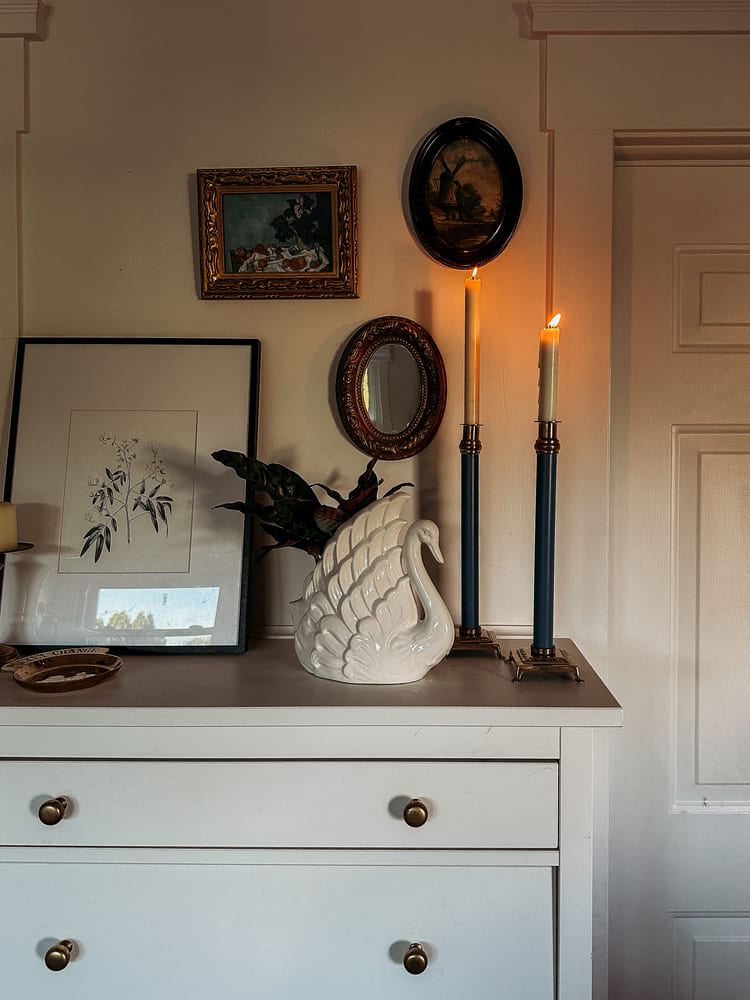
Don’t Miss These Mirror Makeovers!
The Inspiration for This Tutorial
I’m in the middle of transforming my childhood bedroom at my parents’ house into an Old English-inspired guest retreat. The focal point of this room is a family heirloom rope bed with an antique headboard. While planning the makeover, I decided to fill the two oval inlays of the headboard with handmade antique mirrors, adding gorgeous moody drama to the room. The result? A stunning, eerie, and luxe look!


What is a rope bed?
A rope bed is a type of platform bed in which the sleeper (and mattress) is supported by a lattice of rope, rather than wooden slats.

The History of Our Family Rope Bed
You may recall I used the sides of this very same rope bed to create peg rail picture ledges for my own house! To see the full tutorial on those, CLICK HERE!

This headboard has traveled a bit in our family starting at my grandparents’ house, then to my first home and then back to my parents’ house for their guest room. The headboard has two oval inlays. We have never figured out what might have been in these inlays originally (if anything) but there is so much potential to do something cool with them!

When I used the headboard at my house, I added fabric to the inlays for a pop of color.

I suggested to my parents’ that for this room transformation we make our own antique mirrors to add to the inlays for gorgeous moody drama! The end result is drop dead gorgeous! The mirrors have an old, eerie look and they look so luxe and moody!

This tutorial to make a newer mirror look aged only requires a few affordable materials that you might even already own! However, make sure to carefully read through the steps to avoid making some common mistakes.
How to Make a New Mirror Look Aged
Materials
- mirror of your choice – for our project we used new double thick mirror that we had cut at the hardware store.
- Citristrip
- foam paintbrush
- plastic wrap
- plastic scraper
- spray bottle
- protective gloves
- bleach
- water
- sponge
- black spray paint
Step 1: Prepare the Mirror
Remove any backing or frame from your mirror to expose the gray or black paint on the back. You’ll need access to this layer for the aging process.

Step 2: Apply Citristrip
On a flat, protected surface, apply a thick layer of Citristrip to the back of the mirror using a foam paintbrush. Cover the Citristrip with plastic wrap to help it work. Leave it on for 1-2 hours.

Step 3: Check the Progress
Peel back a small piece of the plastic wrap to check if the paint is lifting. If not, let the stripper sit for longer. After about an hour, most of the paint should lift away with the plastic wrap in one large sheet.

Step 4: Remove Remaining Paint
IGently scrape any remaining paint with a plastic scraper. Be careful not to scrape too hard, as this could damage the reflective coating of the mirror. Use paper towels to wipe away any leftover stripper until the metallic finish is exposed.

Step 5: Apply Bleach Mixture
Mix equal parts bleach and water in a spray bottle. Lightly spray the mixture on the edges of the mirror (where mirrors naturally age). Do this in small sections, as too much spraying could remove too much of the metallic finish.

Step 6: Dab and Distress
After spraying, use a clean, dry sponge to dab the bleached areas. As the bleach mixture dries, it will eat away at the mirror’s metallic finish, creating dark spots similar to those found in true antique mirrors.

Step 7: Check Your Progress
Repeat this process, flipping the mirror over to see how it looks. When checking the mirror from the front, hold it against something dark to better visualize how it will look when reassembled. Continue aging until you’re satisfied with the look.

* Because my mirrors are part of a headboard I didn’t want to see much reflective surface at the end. I wanted it to look REALLY aged, so I ended up spraying my bleach mixture on almost all of the mirror by the time I was done.

Step 8: Paint the Back of the Mirror
Allow the mirror to fully dry, then cover the back with black spray paint. This seals the distressed areas and ensures that no light passes through the spots where the bleach removed the metallic finish.

shop the room
Step 9: Reassemble and Style
OOnce the paint is dry, reassemble your mirror and display it as you like! I’ve recently thrifted several mirrors, and I’m excited to use this tutorial on them in my own home!

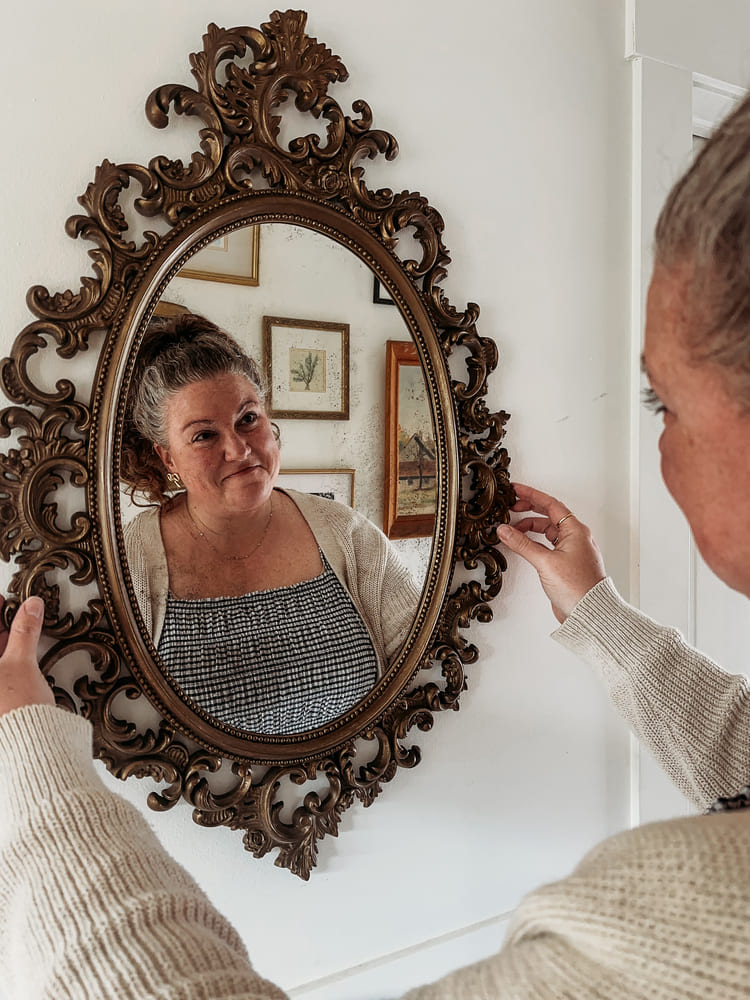
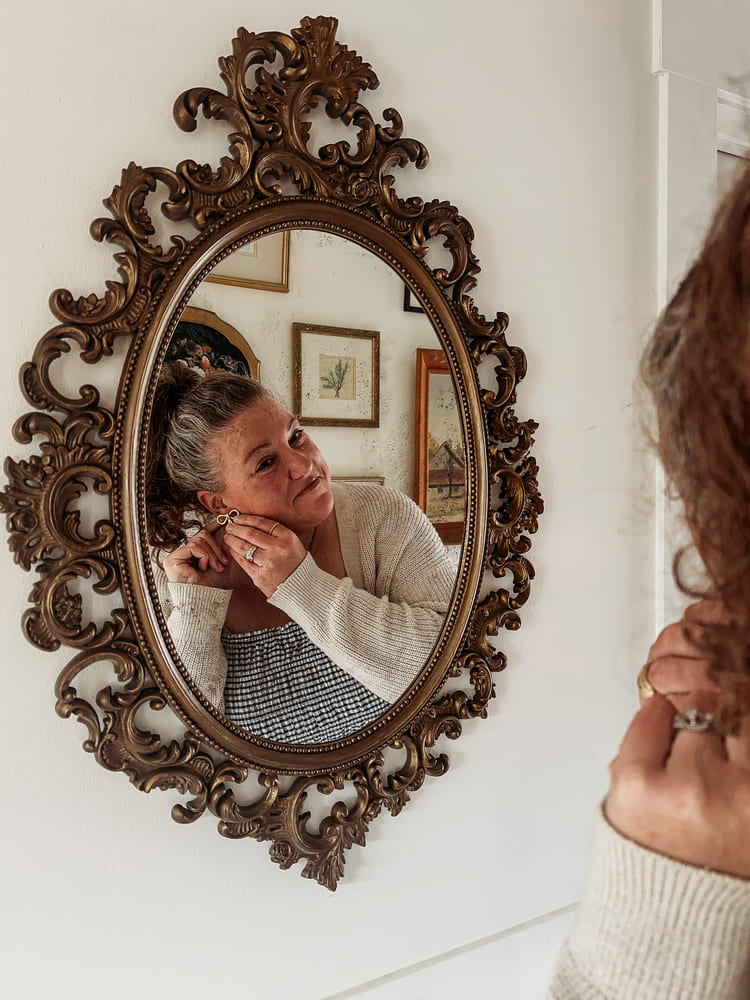
A Look at More DIY Antiqued Mirrors in My Home
Since initially trying out this DIY, I have gone on to use this simple tutorial on two different vintage mirrors for my own home! Now that I have used this step by step process a total of three times, I can say It. Works. Every. Time! Look at the stunning results on this vintage mirrors!
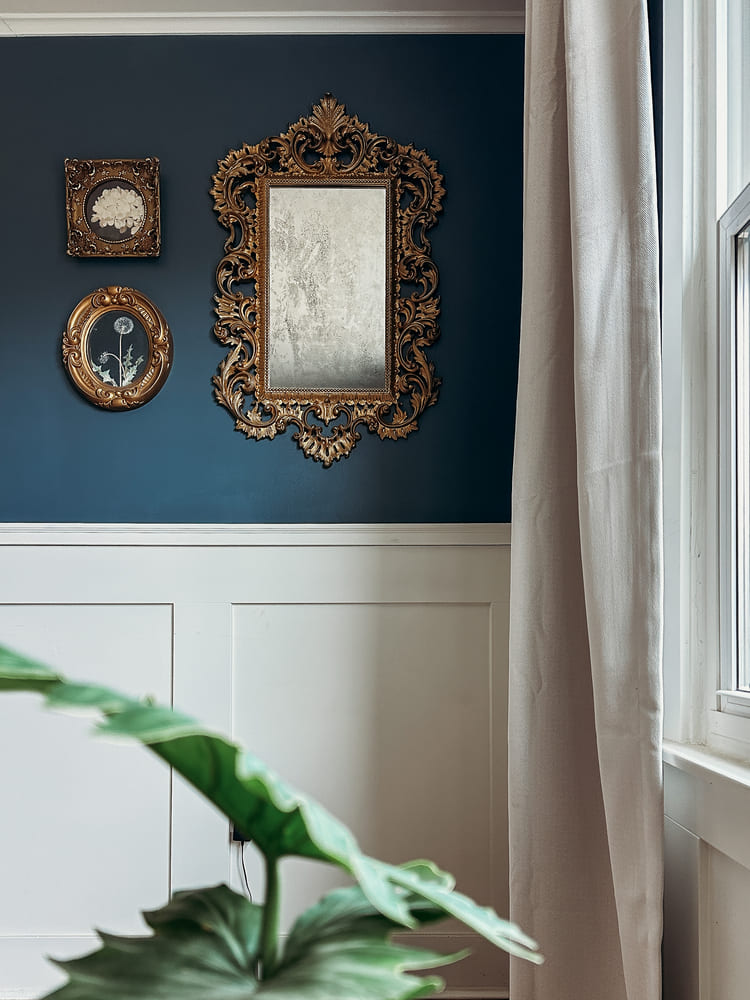
Because these two mirrors are older, the stripping agent took much longer to remove the paint from the back of the mirror. I ended up leaving the Citristrip on overnight for these two and the next morning, the paint peeled right up!
More DIY Upcycle Projects from the Archives
If you love giving old things a new life, don’t miss these posts!
- How to turn a Vase into a lamp
- Floor Lamp Pedestal Planter
- Picture Frame Fall Wreath
- Antique Kitchen Table Makeover
Let’s Stay Connected
Don’t miss a single opportunity to be inspired by signing up for our weekly newsletter for exclusive tips, sneak peeks, and a recap of the week’s ideas! Scroll to the bottom of the page to subscribe – it’s free!
xoxo, L