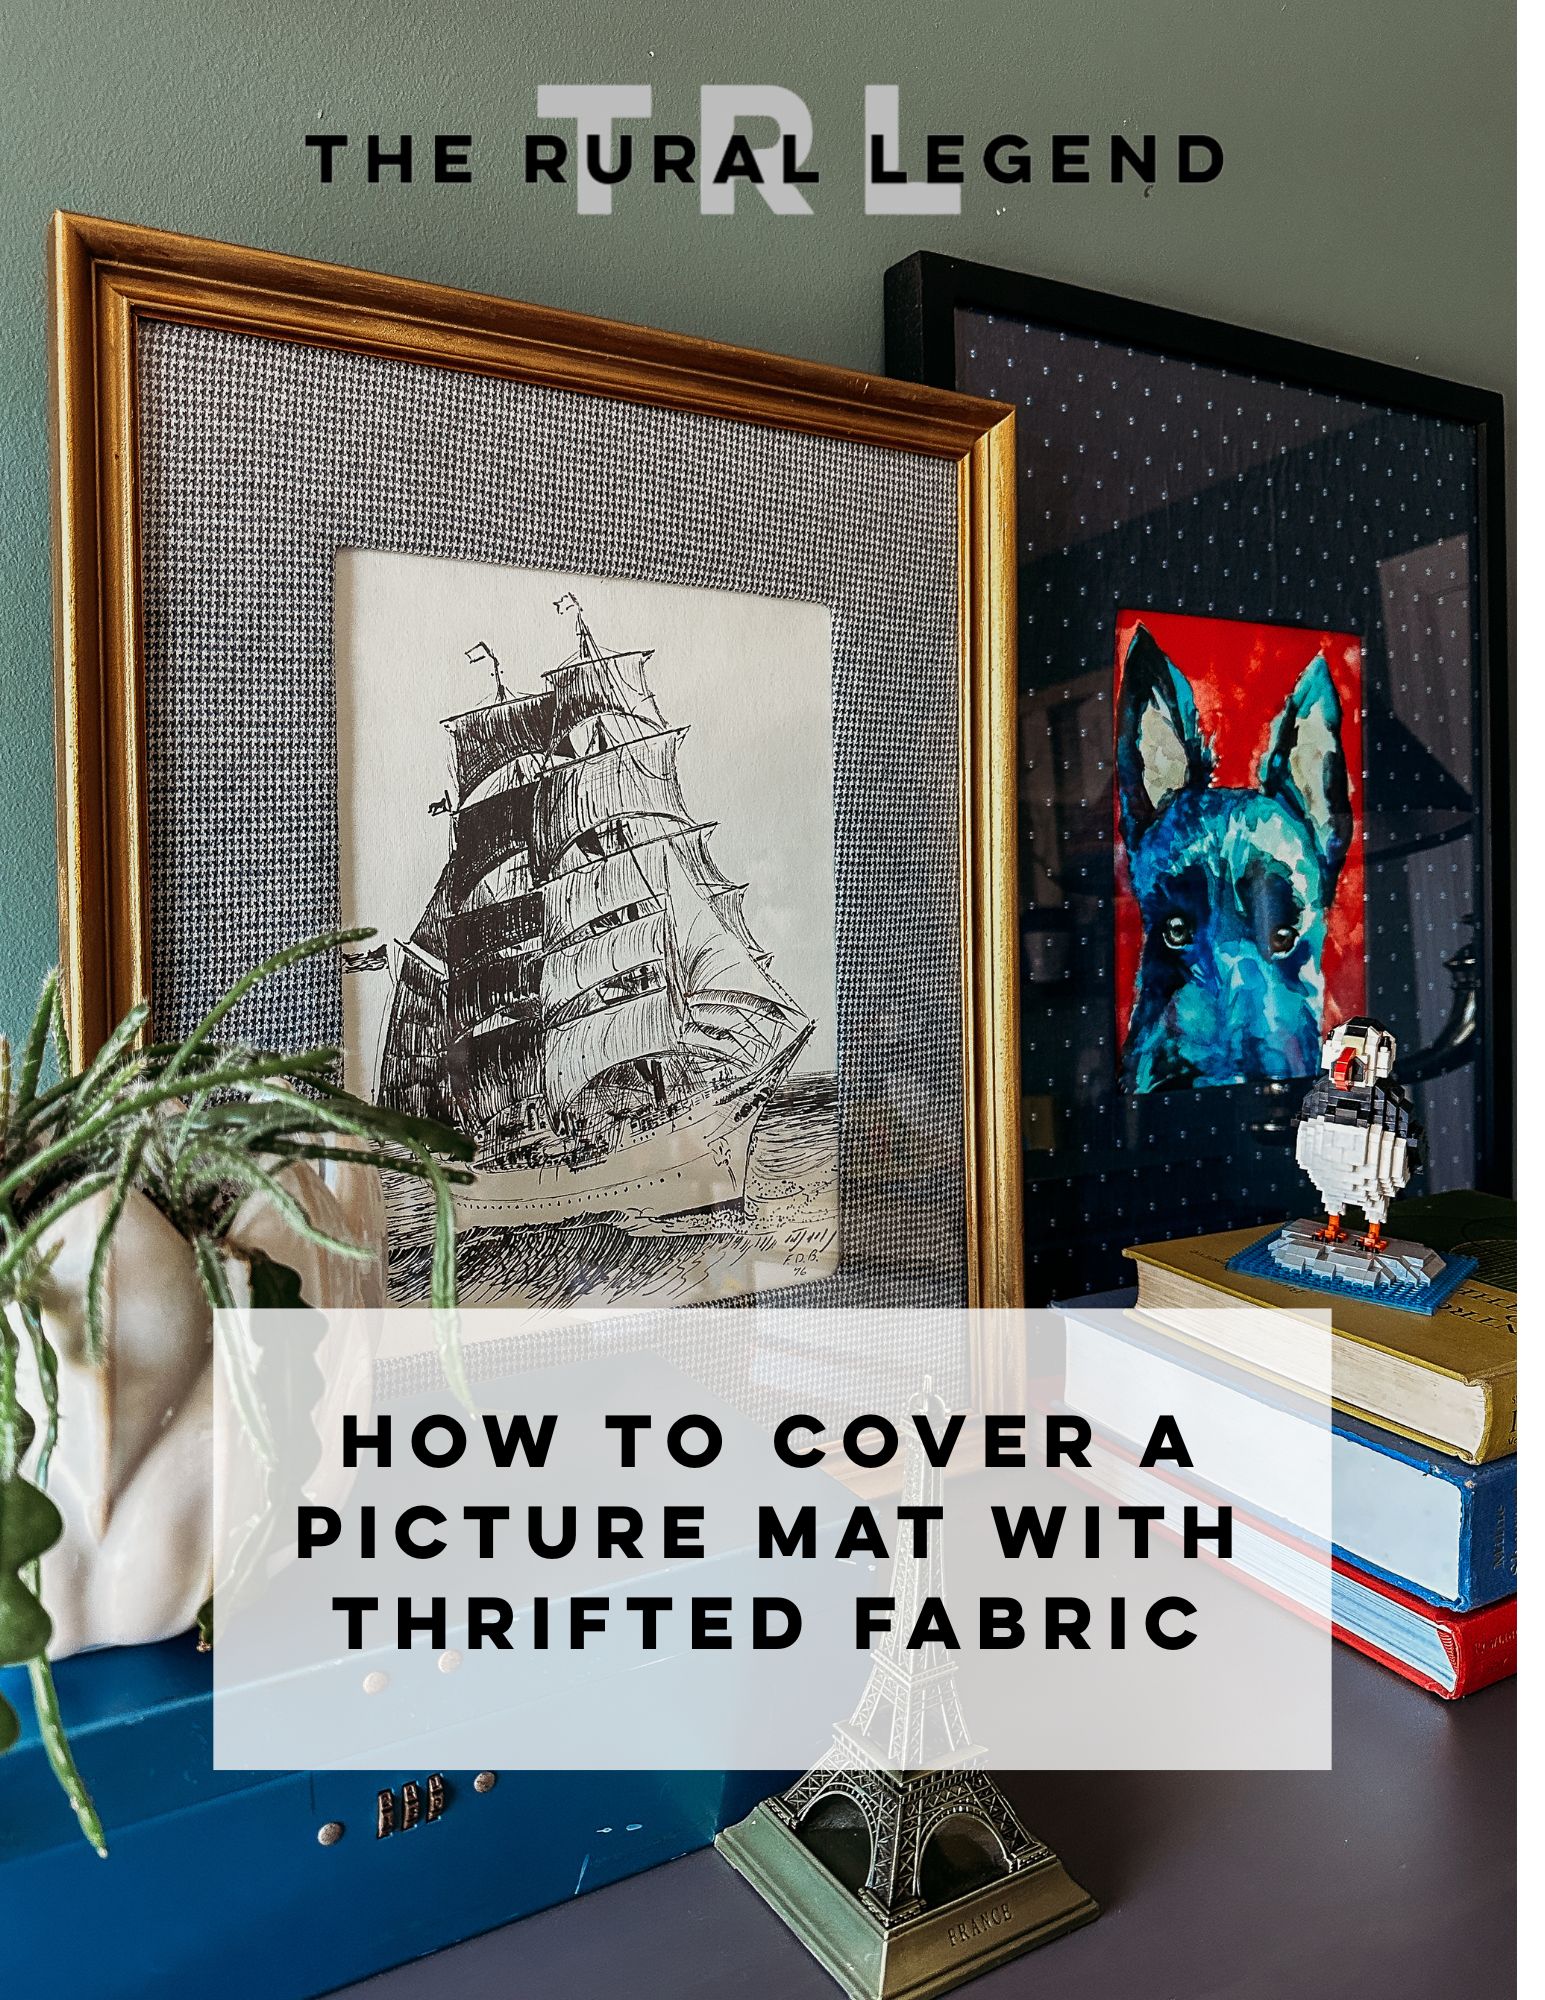
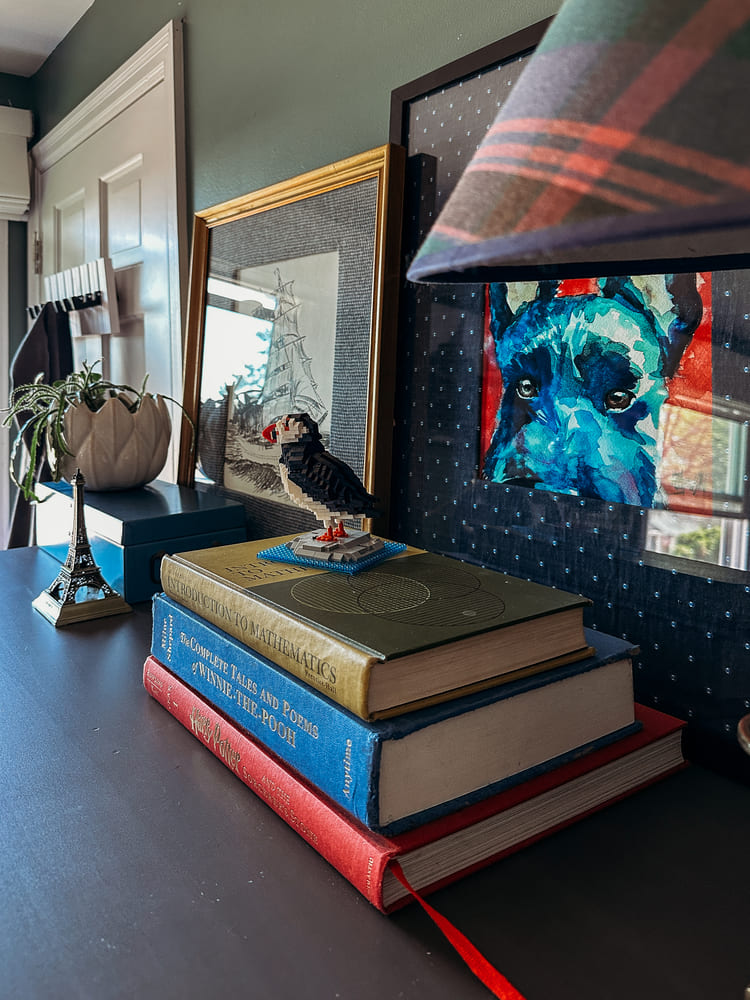
If you love creating a high-end look for less, this DIY project is for you! One of my favorite ways to give a gallery wall or framed art a fresh twist is by covering a photo mat with thrifted fabric—or even leftover wallpaper. The best part? You can thrift everything you need: the frame, the mat, and the fabric!

This post may contain affiliate links which might earn me a small commission at no cost to you. THANK YOU for supporting me and the quality items I promote!
Here’s how to turn a secondhand find into a custom art piece that looks totally designer.
Why Thrifted Mats and Frames Are Gold
If you’ve ever browsed the frame aisle at a thrift store, you know it’s a hidden treasure trove. Most people overlook dingy or outdated artwork, but look closer: the frames and mats are often high quality and just need a little love. Mats especially can be expensive when bought new, but at the thrift store? They’re practically a steal.
And don’t worry if the mat has a weird print or is stained—you’re going to cover it up anyway!
What You’ll Need
- A thrifted picture frame with a mat
- Fabric or wallpaper (thrifted or leftover from another project)
- Scissors or rotary cutter
- Spray adhesive or double-sided tape
- Craft knife (like an X-Acto)
- Cutting mat or cardboard (to protect your surface)
Step-by-Step: How to Cover a Mat
1. Choose Your Fabric or Wallpaper
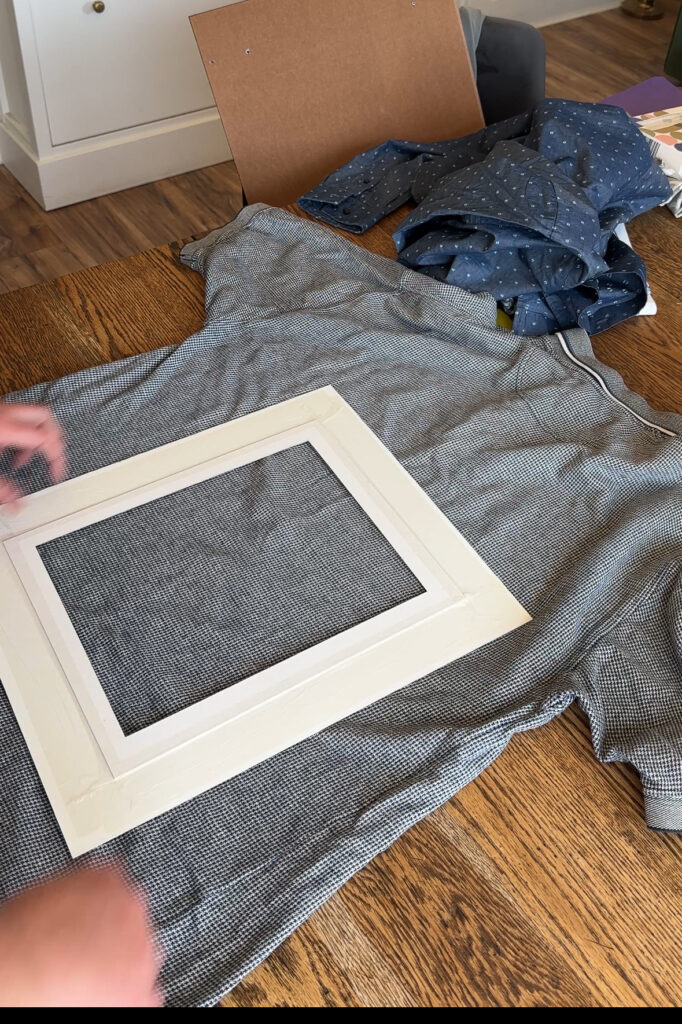
Look for fabric with small-scale patterns or subtle textures—think vintage florals, ticking stripes, or even denim. For wallpaper, scraps or peel-and-stick options work great, especially if you want a bold or modern pattern. I found a men’s polo shirt with a small houndstooth print and a stunning brushed chambre oxford with an embroidered design that are perfect for this upcycle! PRO TIP: when it comes to clothing, shop the larger sizes so you have more fabric to work with!

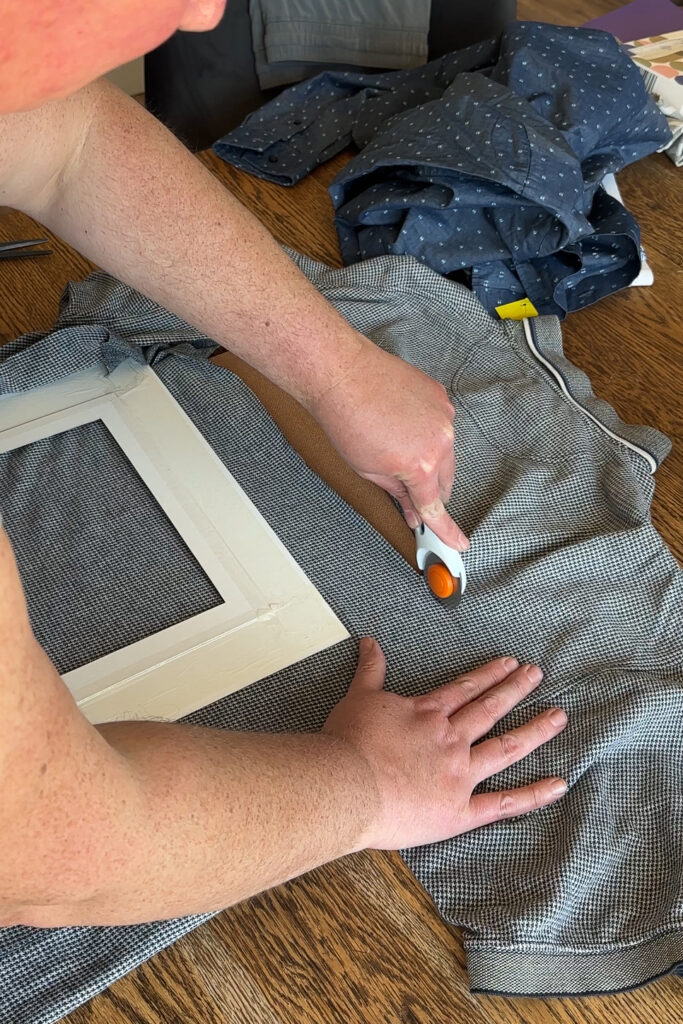
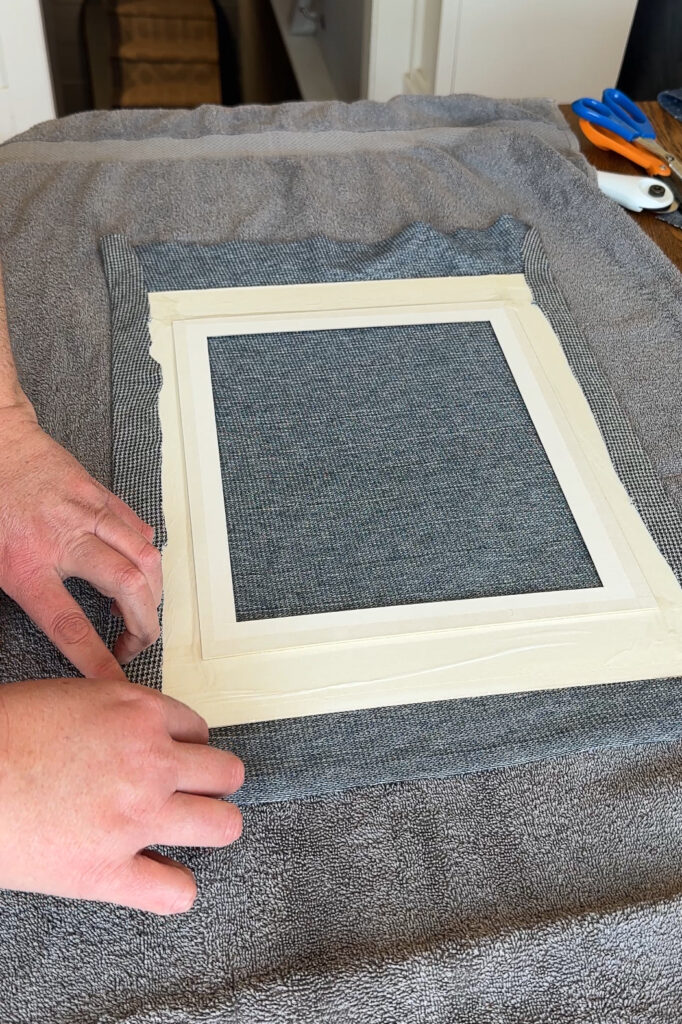
2. Cut the Fabric/Wallpaper
Lay the mat face down on the wrong side of your fabric or wallpaper. Cut a piece that extends at least an inch beyond all four edges.
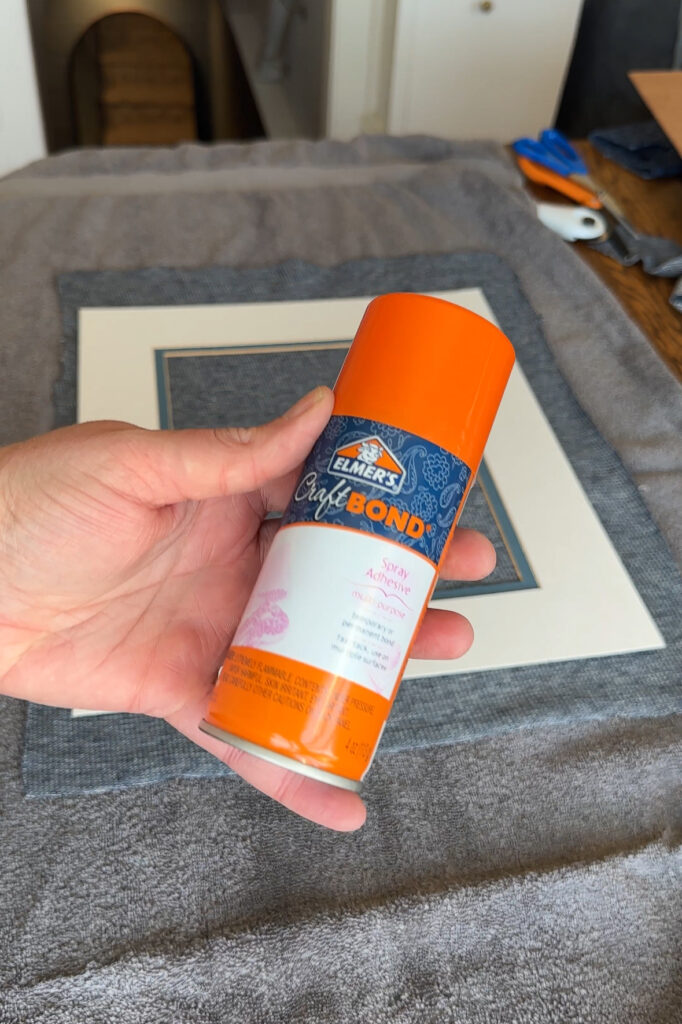
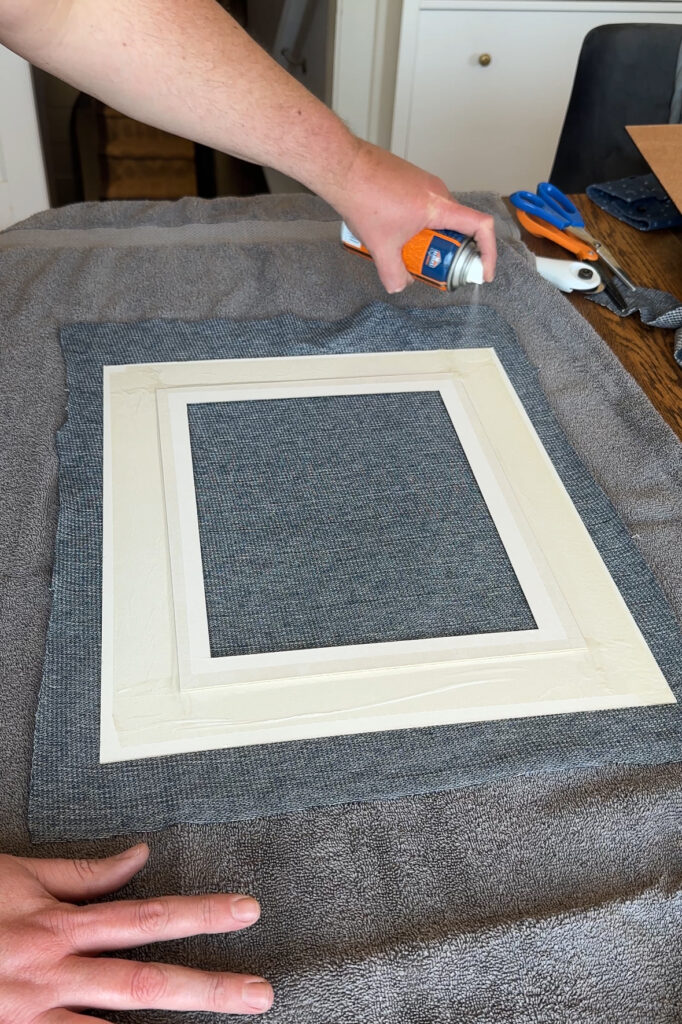
3. Adhere It to the Mat
Spray adhesive gives a smooth, professional finish, but double-sided tape can work in a pinch. Carefully smooth the fabric or wallpaper onto the front of the mat, starting from the center and working outward to avoid wrinkles.
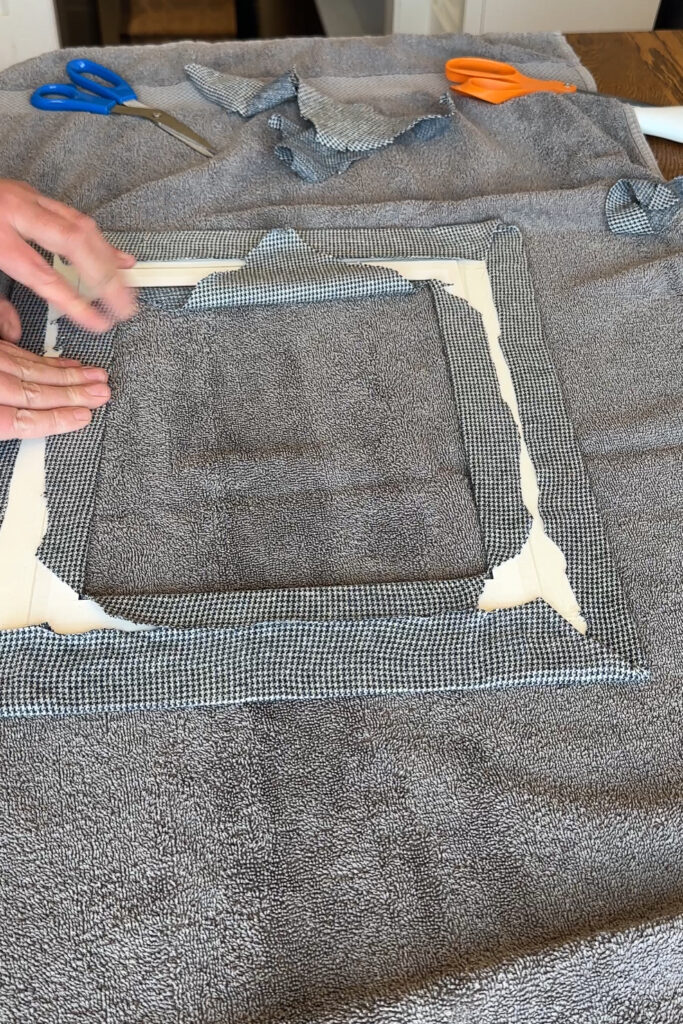
4. Wrap the Outer Edges
Fold the excess fabric or wallpaper over the outer edges of the mat and secure to the back. Keep those corners tidy!
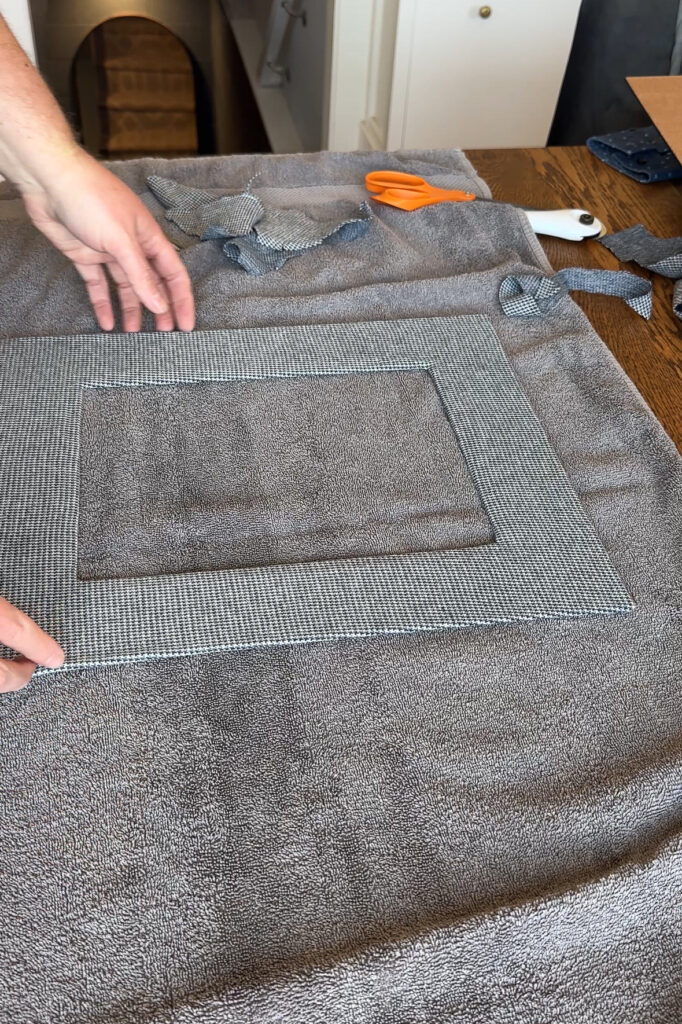
5. Cut the Inside Opening
Use a craft knife or scissors to carefully cut an “X” shape in the center of the mat opening. Fold the flaps to the back and secure them with tape or glue.

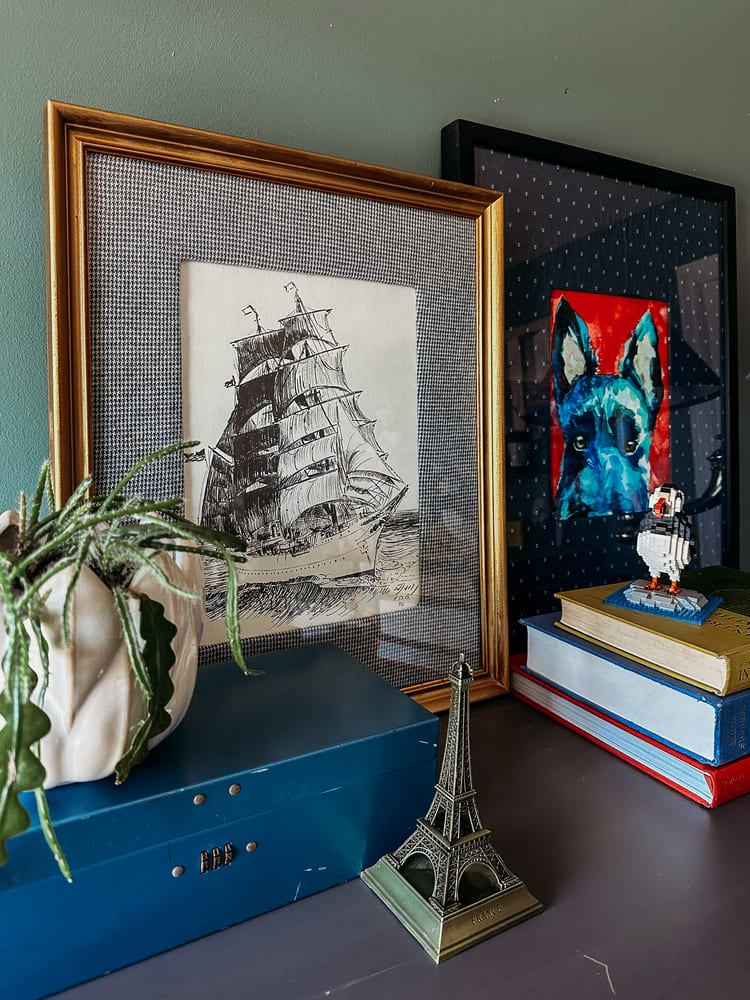
6. Reassemble and Enjoy!
Pop your custom mat back into the frame with your art or photo, and admire your handiwork.
Tips for a Thrift-Rich Finish
- Mix and match frames from the thrift store for an eclectic gallery wall. Unified mats (covered in matching or coordinating fabrics) will tie everything together.
- Use up wallpaper scraps from a past room makeover to create a cohesive home design story.
- Don’t skip the kids’ section—sometimes vintage picture books or old linens have the best fabric patterns to upcycle!
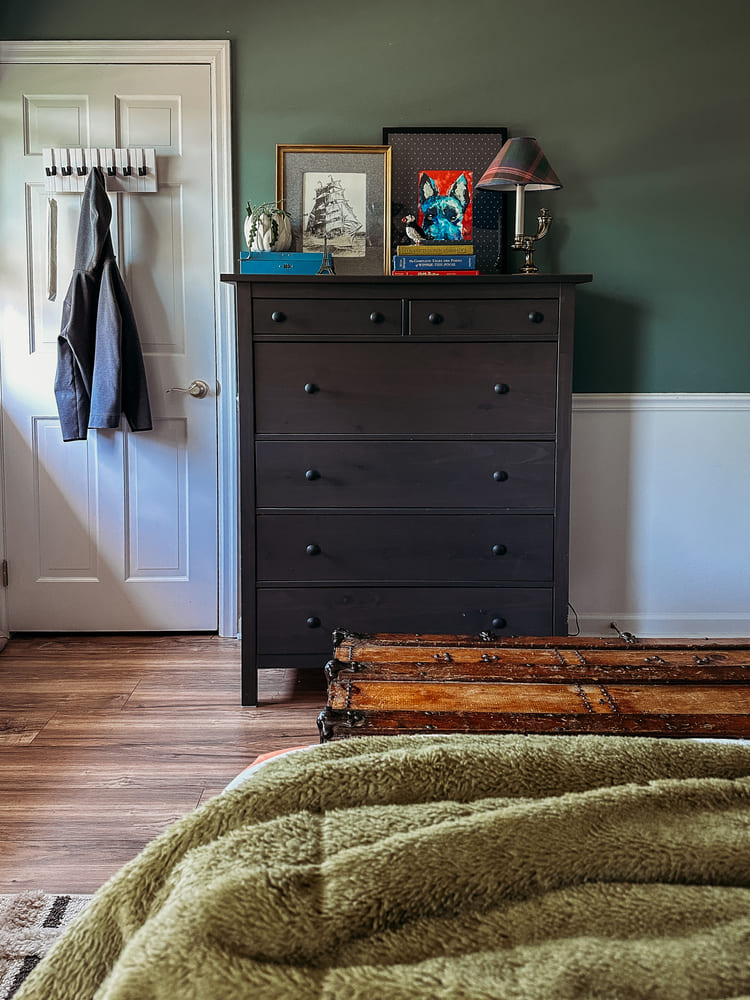
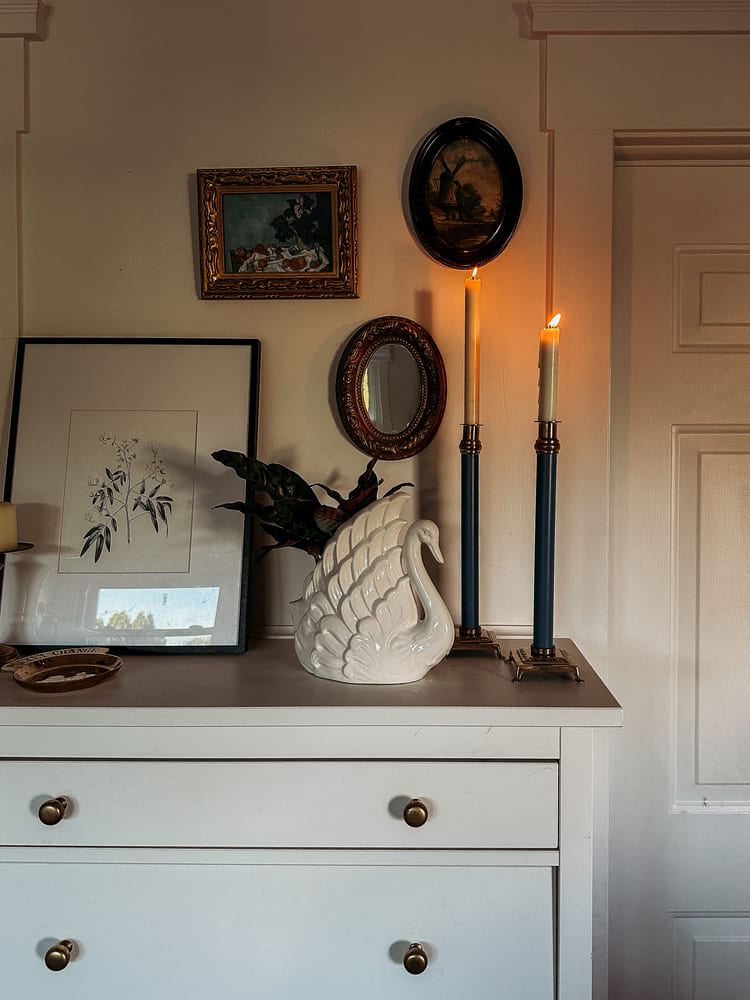
rug / piano coat rack / dresser / wall color
A simple fabric- or wallpaper-covered mat adds texture, personality, and charm to even the most basic art prints. Whether you’re elevating a thrifted frame or refreshing old family photos, this DIY is the perfect blend of budget-friendly and beautiful.
Looking for more ways to use THRIFTED FABRIC? Here’s 9 more!
Let’s Stay Connected
Don’t miss a single opportunity to be inspired by signing up for our weekly newsletter for exclusive tips, sneak peeks, and a recap of the week’s ideas! Scroll to the bottom of the page to subscribe – it’s free!
xoxo, L